
This simple side dish is an easy way to enjoy this nutrient packed vegetable alongside most any dish you are making.
1 pound Swiss chard, chopped
1 medium clove garlic, chopped
1 teaspoon fresh lemon juice
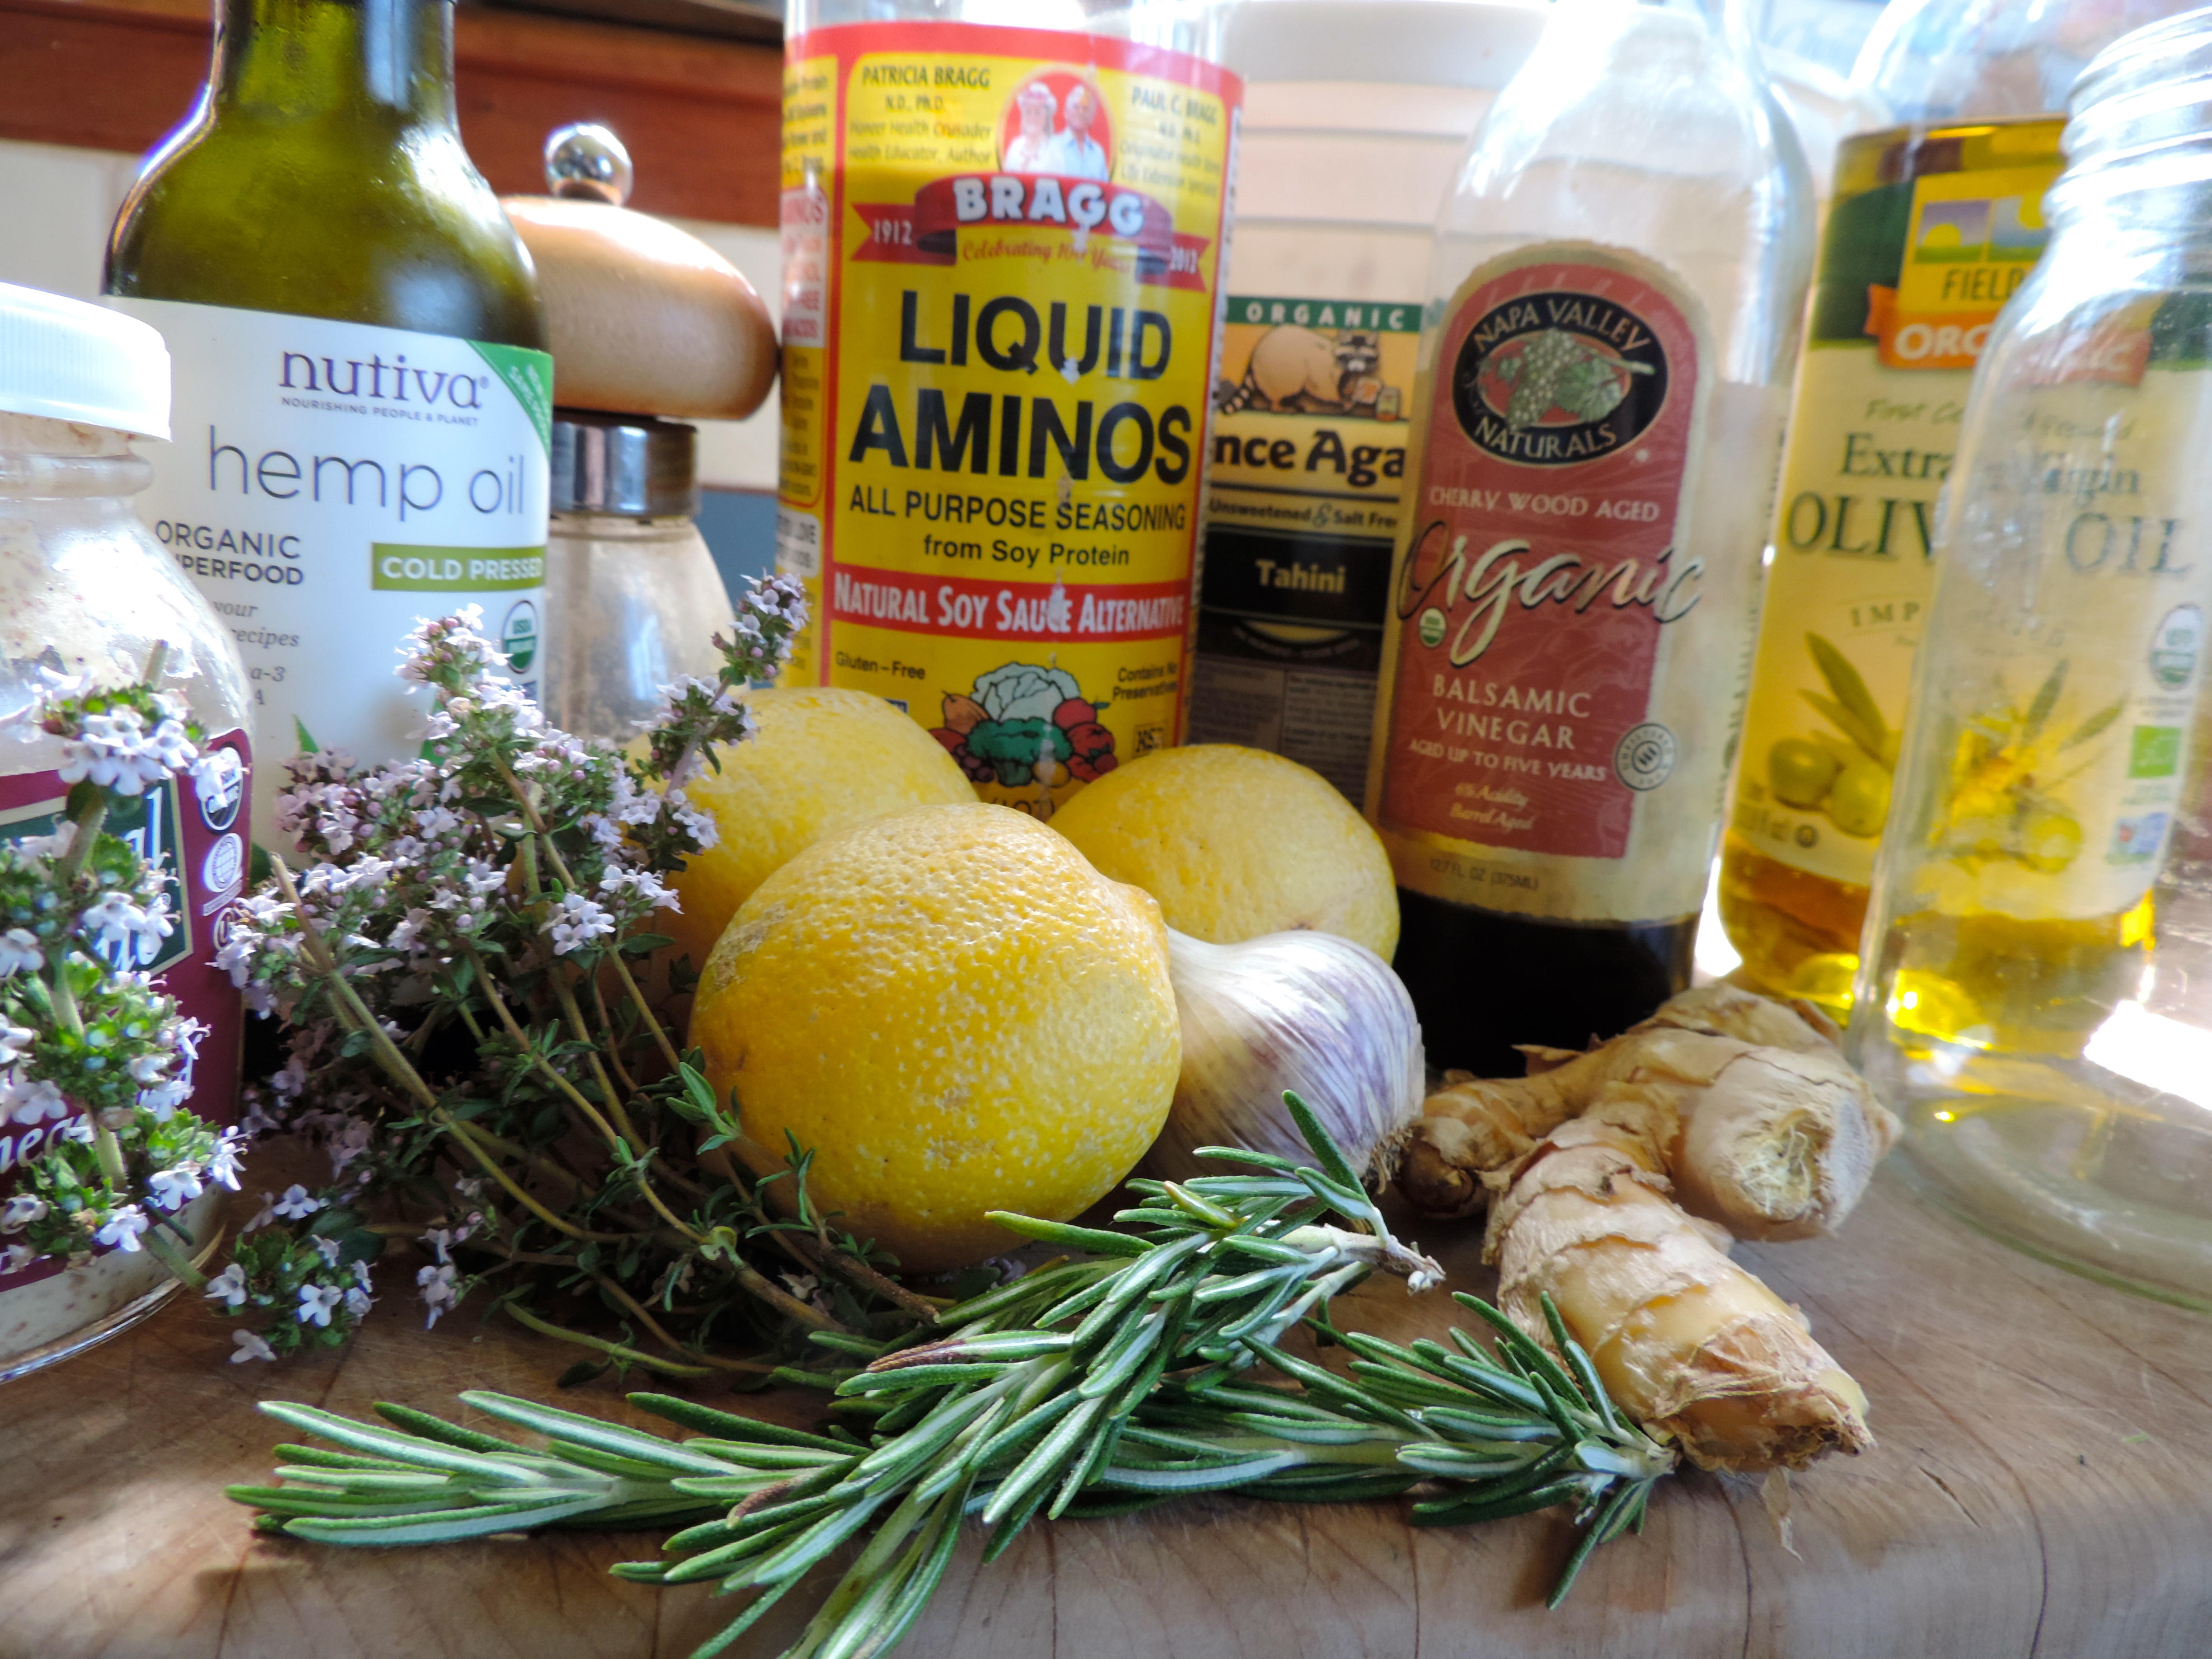
3 tablespoons extra virgin olive oil
Salt and black pepper to taste
Optional Additions:
6 kalamata olives
1/2 cup feta cheese
1 teaspoon soy sauce
Chop garlic and let sit for 5 minutes to bring out its health-promoting properties. Use a large pot (3 quart) with lots of water. Make sure water is at a rapid boil before adding Swiss chard. Cut off tough bottom part of Swiss chard stems. Add the chopped leaves to the boiling water. Do not cover. Cook for 3 minutes; begin timing as soon as you drop the Swiss chard into the boiling water. Place in colander and press out excess water.
Transfer to serving dish and toss with rest of ingredients while it is still hot. Using a knife and fork, cut Swiss chard into small pieces for better flavor.
We thank The World’s Healthiest Foods for this recipe.
Have you tried this recipe? Tell us how it turned out!