Nettle Pesto

Nettles

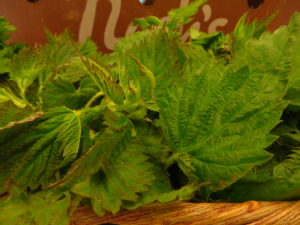
Nettles don’t sting once cooked. Magically, steaming or boiling them makes them tame — and delicious!

You will need two or three big tong-fulls of fresh nettles for this recipe. We say tong-fulls because you do not want to pick up fresh nettles, as they will sting you. Get a huge pot of water boiling and add a handful of salt.

Grab the nettles with tongs and put them into the boiling water. Stir around and boil for 1-2 minutes.

Fish them out with a skimmer or the tongs and immediately dump them into a big bowl with ice water in it. Once they are cool, put them in a colander to strain.

Get a cloth towel, like a tea towel, and put the nettles in it. Wrap one end of the towel one way, then the other end of the towel the other and squeeze out as much moisture as you can.

This makes a little more than 1/2 cup of very green, very pretty pesto. Store any unused pesto in the fridge, topped with some olive oil to keep the air out.

To Make Nettle Pesto
3 garlic cloves
2 tablespoons toasted walnuts, pecans, or other nuts
2 tablespoons grated cheese (any hard cheese will do)
6-8 tablespoons blanched, chopped nettles
Salt
Olive oil (use the good stuff)

Pesto is best made with a mortar and pestle, thus the name, which means “pound.” You can also make it in a food processor. First add the nuts and crush lightly. Roughly chop the garlic and add it processor and pulse to blend.

Add the salt, cheese and the nettles and blend together until it is all fairly uniform.

Start adding olive oil. The amount depends on how you are using your pesto. If you are making a spread, use maybe 2 tablespoons. If a pasta sauce, double that or more. Either way, add 1 tablespoon at a time, stirring to incorporate it.

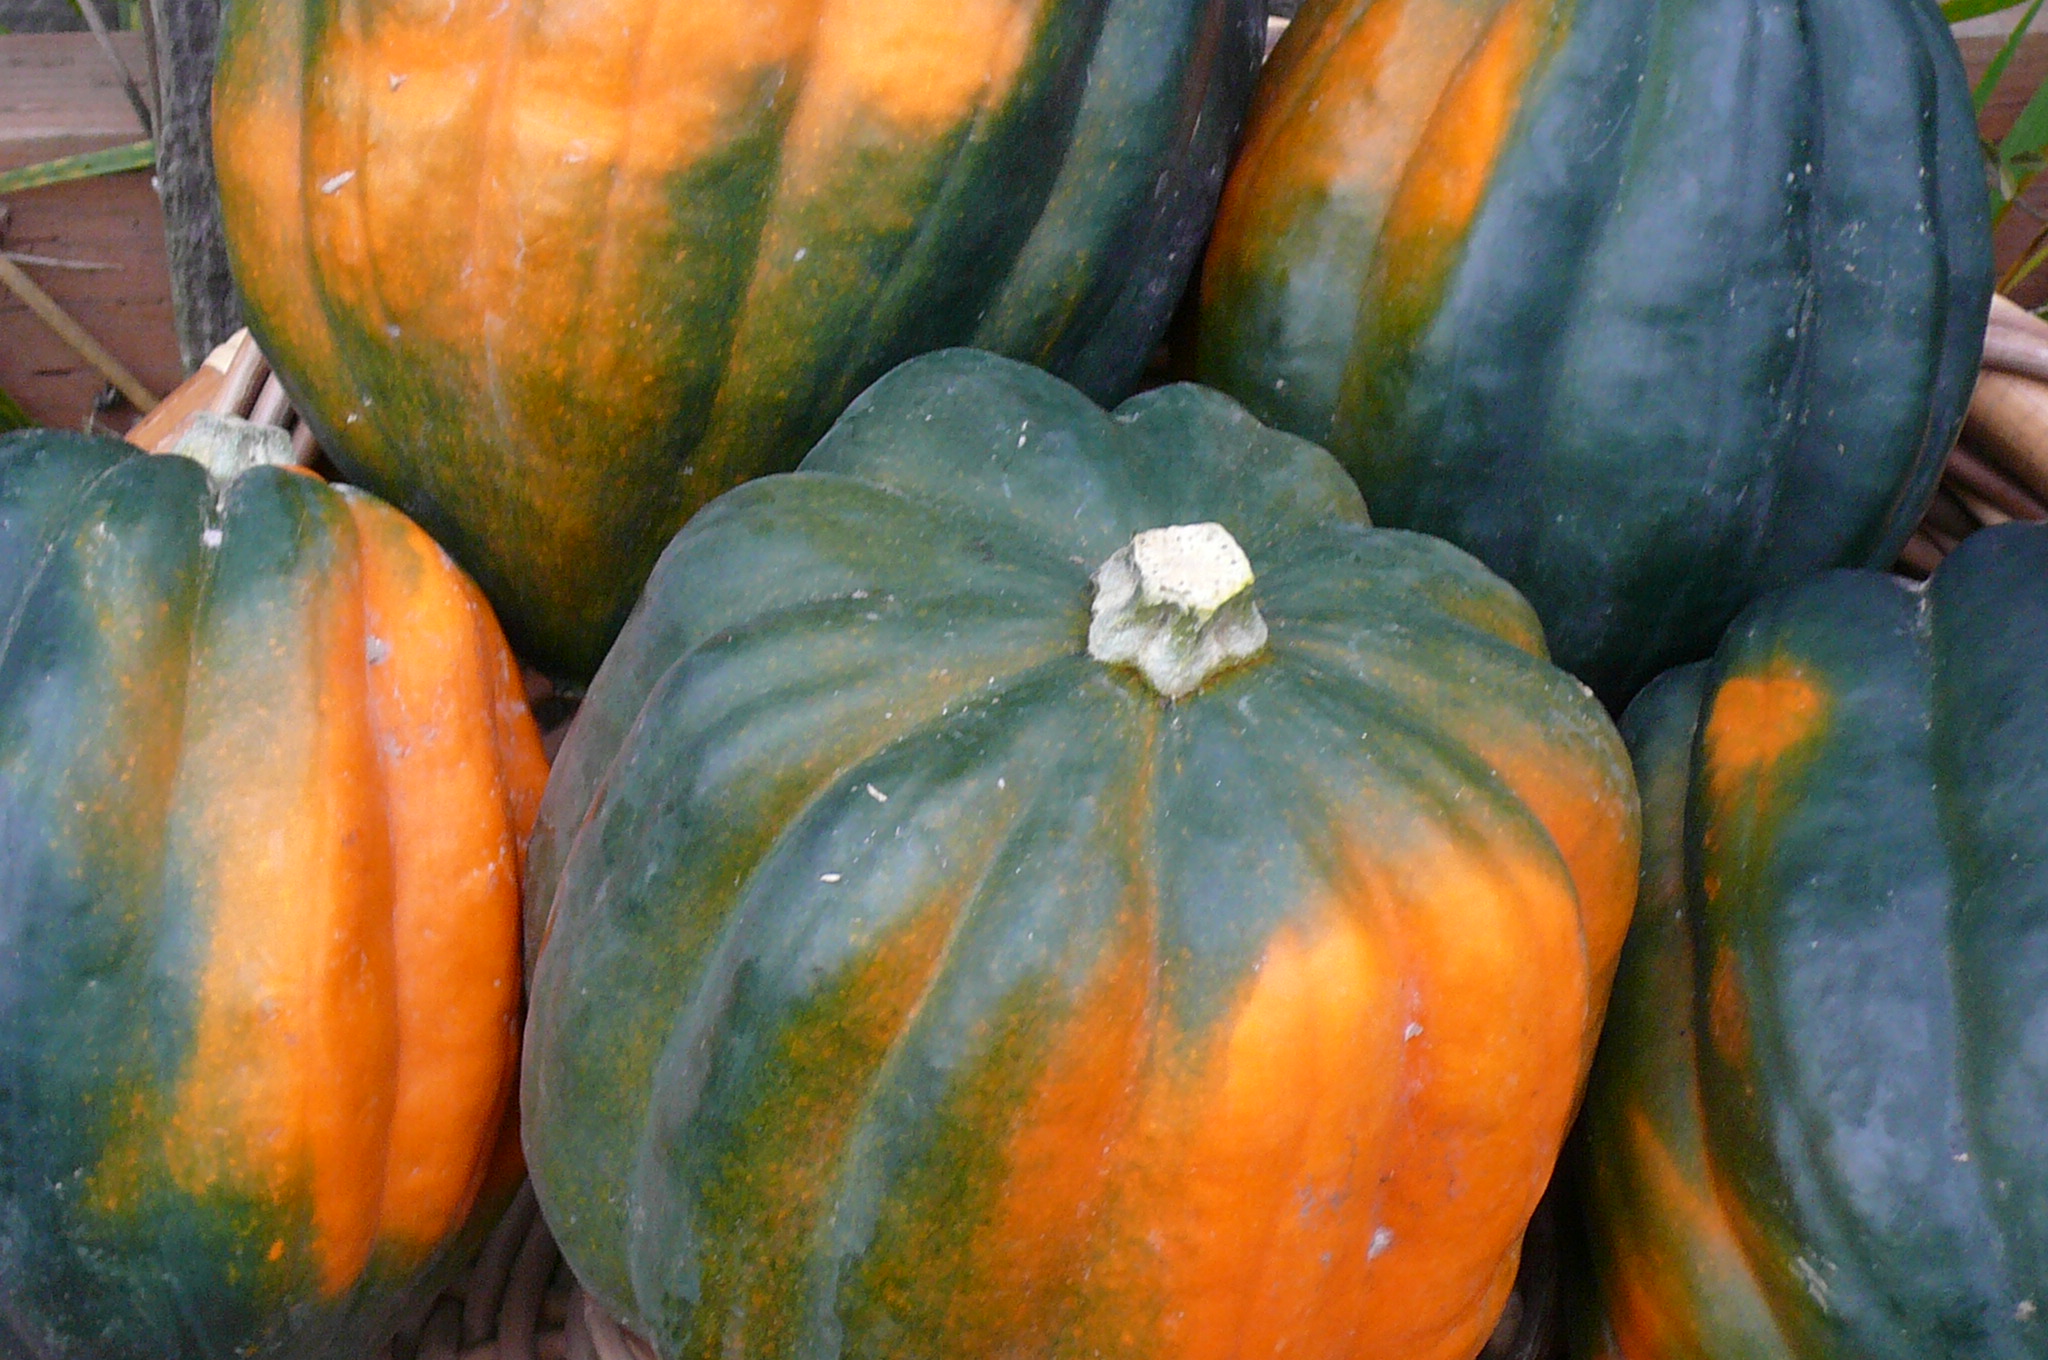
Serve as a spread on bread, as an additive to a minestrone as a pasta sauce or as a dollop on fish or poultry. You can freeze it and in the fall, put it on baked delicata squash. Fantastico!

Have you tried this recipe? Tell us how it turned out!

No-Guilt Bean Dip

kidney beans

Nash’s grows kidney beans? That’s right! Get kidneys along with a variety of other legumes and grains at the store or our farmer’s markets.

Makes about 5 cups

1 teaspoon olive oil
1 onion, diced
3 cloves garlic, minced
1-2 cups cooked Nash’s dried corn, cooked until very soft
1 32-ounce can chopped tomatoes, drained and chopped
1 tablespoon chili powder
2 teaspoon cumin
1 teaspoon coriander
1 tablespoon brown sugar
1-3 tablespoons salt (to taste)
6 cups cooked kidney beans, cooked until mushy

In a large Dutch oven or sauce pan, heat oil on medium heat. Add onions and cook until softened and just turning golden. Add garlic and cook until fragrant. Add corn and tomatoes and cook until excess liquid from tomatoes has simmered away. Stir in spices, brown sugar, and one tablespoon salt.

Stir in beans, using the bowl of your spoon to smash the beans against the bottom and sides of the pan. Continue stirring and smashing until the beans are as mashed as you like. Leave some of the beans still whole for the texture if you like. Taste and add salt and other seasonings as needed. Serve with thinly sliced pieces of toast, vegetable sticks, pita chips, or tortilla chips.

We thank The Kitchn for this great recipe.

Have you tried this recipe? Tell us how it turned out!

Chickweed Pesto (and Other Chickweed Recipe Ideas)

Chickweed Pesto
1 1/2 cups chickweed
1 1/2 cups basil leaves
3-4 cloves garlic
1/2 teaspoon salt
2/3 cup grated parmesan cheese
1/2 cup olive oil
1/4 cup melted butter

Puree everything together in a food processor until it forms a paste. Store in glass jars in the refrigerator or freeze. I store (and freeze) mine in small pickled artichoke jars. Substitute for pesto in any recipe or add as a complement to veggie dishes, pasta, egg dishes, etc.

Bonus: More Chickweed Ideas
I freely add chopped chickweed and its slender stems in soups, stews or hot veggie dishes. Fresh, raw chickweed tips are great in salads or as a lettuce substitute in sandwiches.

Have you tried this recipe? Tell us how it turned out!

Old-Country Soft Pretzel Sticks

Makes 4 dozen sticks

1 tablespoon dry yeast
4 1/2 cups Nash’s rye flour
1 1/4 cups warm water
1 egg, beaten with 1/2 teaspoon water
1 tablespoon honey
1 medium onion, chopped and sautéed (caraway, sesame or poppy seeds may be substituted)

In a large bowl dissolve yeast in warm water. Add honey and let proof. Then stir in 4 cups flour. Lightly oil a baking sheet.

Turn out dough onto a floured surface and knead in 1/2 cup flour until smooth. Divide dough into 48 pieces and roll each into a rope about 1/2 inch in diameter and 5 inches long. Place on prepared baking sheet. Brush with egg and sprinkle with onions. Let rise in a warm place for 20-30 minutes.

Preheat oven to 425 degree F. Bake for 15-20 minutes. Cool on wire racks.

We thank Rodale’s Basic Natural Foods Cookbook for this recipe.

Have you tried this recipe? Tell us how it turned out!

Whole-wheat Parsnip Bread

parsnips

Make tasty bread with the humble parsnip.

1 1/2 cups sugar
1 cup parsnip puree: boil parsnips until tender, whirl in food processor or blender until pureed
1/2 cup vegetable oil
1/2 cup water
2 eggs
1/2 cup plus 1/3 cup unbleached white flour
1/2 cup plus 1/3 cup whole-wheat flour (Nash’s soft white wheat flour is best!)
1 teaspoon baking soda
1/2 teaspoon baking powder
3/4 teaspoon salt
1 teaspoon cinnamon
1/2 teaspoon nutmeg
1/4 teaspoon cloves
Optional: 1/2 cup chopped nuts; 1/2 cup raisins

Combine sugar, parsnips, oil, water and eggs, and beat well. Add dry ingredients and stir until moistened. Stir in nuts and raisins if desired. Pour into a greased 9”x5”x3” loaf pan. Bake at 350 degrees 65-70 minutes until toothpick inserted in center comes out clean. Cool 10 minutes in pan before removing to a wire rack.

Have you tried this recipe? Tell us how it turned out!

Winter Squash Muffins

Makes 20 small muffins

acorn squash

Steam these squash for autumnal muffins.

3 eggs
1 cup honey
1 cup veggie oil
2 cups steamed squash
3 teaspoons vanilla extract
3 cups all-purpose flour
1 teaspoon salt
1/4 teaspoon baking powder
1 teaspoon baking soda
3 teaspoons ground cinnamon
1 cup coarsely chopped walnuts
1 cup raisins

Beat the eggs until light and foamy. Add the honey, oil, squash and vanilla, and mix lightly but well. Combine the flour, salt, soda, baking powder, and cinnamon. Add to the egg/squash mixture and stir until well blended. Add nuts and raisins. Pour into greased or lined muffin tins. Bake in a preheated 350 degree F oven for 20-25 minutes. They will stay fresh for 4 days, or freeze them for up to 2 months.

Have you tried this recipe? Tell us how it turned out!

Garlic Dip

Garlic bulb with rustic background

So healthy and so tasty!

Makes 3/4 cup

2 cups cooked Nash’s field peas
1 tablespoon fresh lemon juice
3 cloves garlic, chopped
1/4 cup chicken or vegetables broth
3 tablespoons extra virgin olive oil
Sea salt and pepper to taste

Combine all ingredients in the blender and blend until smooth. Thin with additional water, olive oil or lemon juice as desired. Serve with carrot sticks, celery, kholrabi, cauliflower, steamed beets, halved Brussels sprouts, bok choi stems, sunchokes, etc.

We thank The World’s Healthiest Foods for this recipe.

Have you tried this recipe? Tell us how it turned out!

Sunchoke Rosemary Chips

sunchokes

Use sunchokes in place of potatoes — for example, make sunchoke chips. The advantage: sunchokes don’t cause a spike in blood sugar like potatoes do.

1/2 pound large sunchokes
1 1/2 tablespoon coarse salt
1 tablespoon olive oil
2 teaspoons fresh rosemary, finely chopped

Preheat oven to 350 degrees with rack in center. Slice sunchokes lengthwise 1/8 inch thick and toss with salt. Place slices on paper towels in a single layer, cover with 2 paper towels and let sit 15 minutes, pressing to absorb liquid.

In a bowl, gently toss sunchokes with olive oil and rosemary. Place in single layer on parchment-lined baking sheet and bake, flipping halfway through, until golden and crisp, about 30 minutes. Let cool on baking sheet.

Have you tried this recipe? Tell us how it turned out!

Kids’ Favorite Kale Chips

Lacinato kale

Lacinato is also called dinosaur kale because of its bumpy texture — so tell your kids they’re eating dinosaur skin!

12 large Lacinato kale (or other kale) leaves, rinsed, dried, cut lengthwise in half, center ribs and stems removed
1 tablespoon olive oil
Salt and pepper to taste

Preheat oven to 350°F. Toss kale with oil in large bowl. Sprinkle with salt and pepper. Arrange leaves in single layer on 2 large baking sheets. Bake until crisp, about 15 minutes for flat leaves and up to 20 minutes for wrinkled leaves. Transfer leaves to bowl to cool. Enjoy!

Have you tried this recipe? Tell us how it turned out!

Sautéed Garlic Scapes

A handful of garlic scapes in the field

These wildly curly veggies are the flowering stems of garlic plants.

Skip to recipe

If you grow your own garlic or have a good farmer’s market, then you can enjoy a new kind of vegetable — garlic scapes. The scapes are the flower stems that garlic plants produce before the bulbs mature. Growers often remove the scapes to push the plant’s energy toward bigger bulbs, and when harvested while they are young and tender, the scapes are delicious.

My first culinary encounter with garlic scapes occurred in a tiny Istrian village on the coast of Slovenia. The people in that part of the country speak Italian and have preserved food ways dating from ancient times. The dish they served me was made by sautéing the chopped scapes in olive oil, then pouring a beaten egg mixture over them, similar to a frittata. The cakelike omelet was then served with a liberal garnish of chopped fresh herbs and a glass of local wine, of course. How could anything so simple be so incredibly delicious?

In most parts of the world, people make use of many things we tend to throw away. In the case of garlic, the unopened flower heads are considered a delicacy — even the leaves are used for making soup stocks. Indeed, no part of the plant is wasted. American produce growers, especially those who cultivate garlic, have begun to look at these traditional foods as a way not only to increase the profitability of their garlic crop, but also to introduce consumers to tasty new approaches to garlic cookery. The secret to scape cookery is to pick them early — the earlier the better. I do this when they are just beginning to emerge between the leaves; at that point, they are so tender you can eat them raw. The best time of day to harvest scapes is during the afternoon when the sun is hot. That way, the wound you create by cutting off the scapes will dry quicker and heal better. If you harvest early in the morning, the garlic plant may weep its sap for several hours, which is not good for the plant.

There is a lot of discussion among garlic growers about the exact best time to pick scapes — what “early” means. Part of this discussion is due to the fact that there are different varieties of garlic, and some produce large scapes while others produce very small ones. In spite of seed catalog claims, the U.S. Department of Agriculture has identified only 10 major garlic cultivars based on genetic analysis of the 400 garlics in its collection. This huge duplication narrows the field of discussion considerably, and of those 10, probably the best varieties for scapes are ‘Chesnok’ and ‘Purple Italian Easy Peel.’ Of course, everyone has personal preferences because different garlics grow better in some parts of the country than in others. As a rule, stick with the varieties that do best in your particular area. No matter what variety you grow, harvest the scapes before they start to curl. If the stems of the scape are starting their curls, you still can cook them if you trim off the base of the stems much the same way you would trim off the tough ends of asparagus. But, you also should trim off the tips of the garlic flower heads, especially if you intend to sauté or stir-fry them. (The long tips of the flower heads scorch easily.)

Garlic cooks at 120 degrees, so it is not necessary to use very high heat except in the initial stages of sautéing; it’s important to remember that the scapes are far more delicate than the bulbs. But cooking them is a delicious way to use something that otherwise would go wasted, and visually, you can create some attractive dishes that are especially nice as starter courses or hors d’oeuvres.

After my stint in Slovenia, I began collecting recipes for scapes and discovered that in the United States at least, the most common recipes to turn up on the Internet were for pickling. Pickled garlic scapes are fine, but I think a sauté that I found in Cyprus showcases the scapes, taking advantage of both their subtle flavor, as well as their interesting shape (see recipe below). Best of all, it is a dish that improves by standing overnight so that the flavors can meld and mellow. I prefer to use duck fat to create the sauce because it is one of the most wonderful cooking mediums for amplifying flavors, but you may want to use olive oil instead. Olive oil does not create quite as thick a sauce but it gives you a vegan option.

Choose scapes that are very young and tender, taking care to trim off the bottoms of the stems and the tips of the flower heads. The recipe that follows is best when made the day before serving and then refrigerated. Let it stand at room temperature before serving.

garlic scapes, bunched

Make garlic scapes into yummy appetizers, as in this recipe, or sautee them into other veggie dishes for a lovely garlic flavor.

Sautéed Garlic Scapes

2 tablespoons virgin olive oil
2 tablespoons dark brown sugar
8 ounces young garlic scapes, trimmed
1 1/2 cups coarsely chopped tomatoes
3/4 cup dry white wine
1/4 teaspoon freshly ground pepper or to taste
1 teaspoon salt or to taste
1 tablespoon chopped parsley
1/4 cup grilled haloumi cheese, cut into very small dice (see note below)

Heat the oil in a broad sauté pan and add sugar. Stir to caramelize the sugar for about 2 to 3 minutes and add the scapes. Cover and sauté over a medium-high heat for no more than 3 minutes, occasionally shaking the pan to prevent the scapes from scorching. After 3 minutes, add the chopped tomatoes and wine. Stir the pan, then cover and reduce the heat to low; continue cooking 5 to 6 minutes, or until the scapes are tender but not soft. Season, then add the parsley and haloumi, and serve at room temperature.

Serves 6 to 8 as hors d’oeuvres.

Note: Haloumi cheese is a goat and/or sheep cheese made in Cyprus and now widely available in the United States. It can be sliced and grilled, or fried in a skillet, and it doesn’t melt. Haloumi’s salty flavor is a great addition to this recipe, but other salty cheeses such as cheddar or aged chevre can be substituted.

We thank food historian William Woys Weaver for this article, which was originally published in MotherEarthNews.com. He is a contributing editor to Gourmet magazine and a professor of culinary arts at Drexel University in Philadelphia.

Have you tried this recipe? Tell us how it turned out!