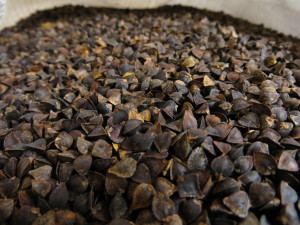
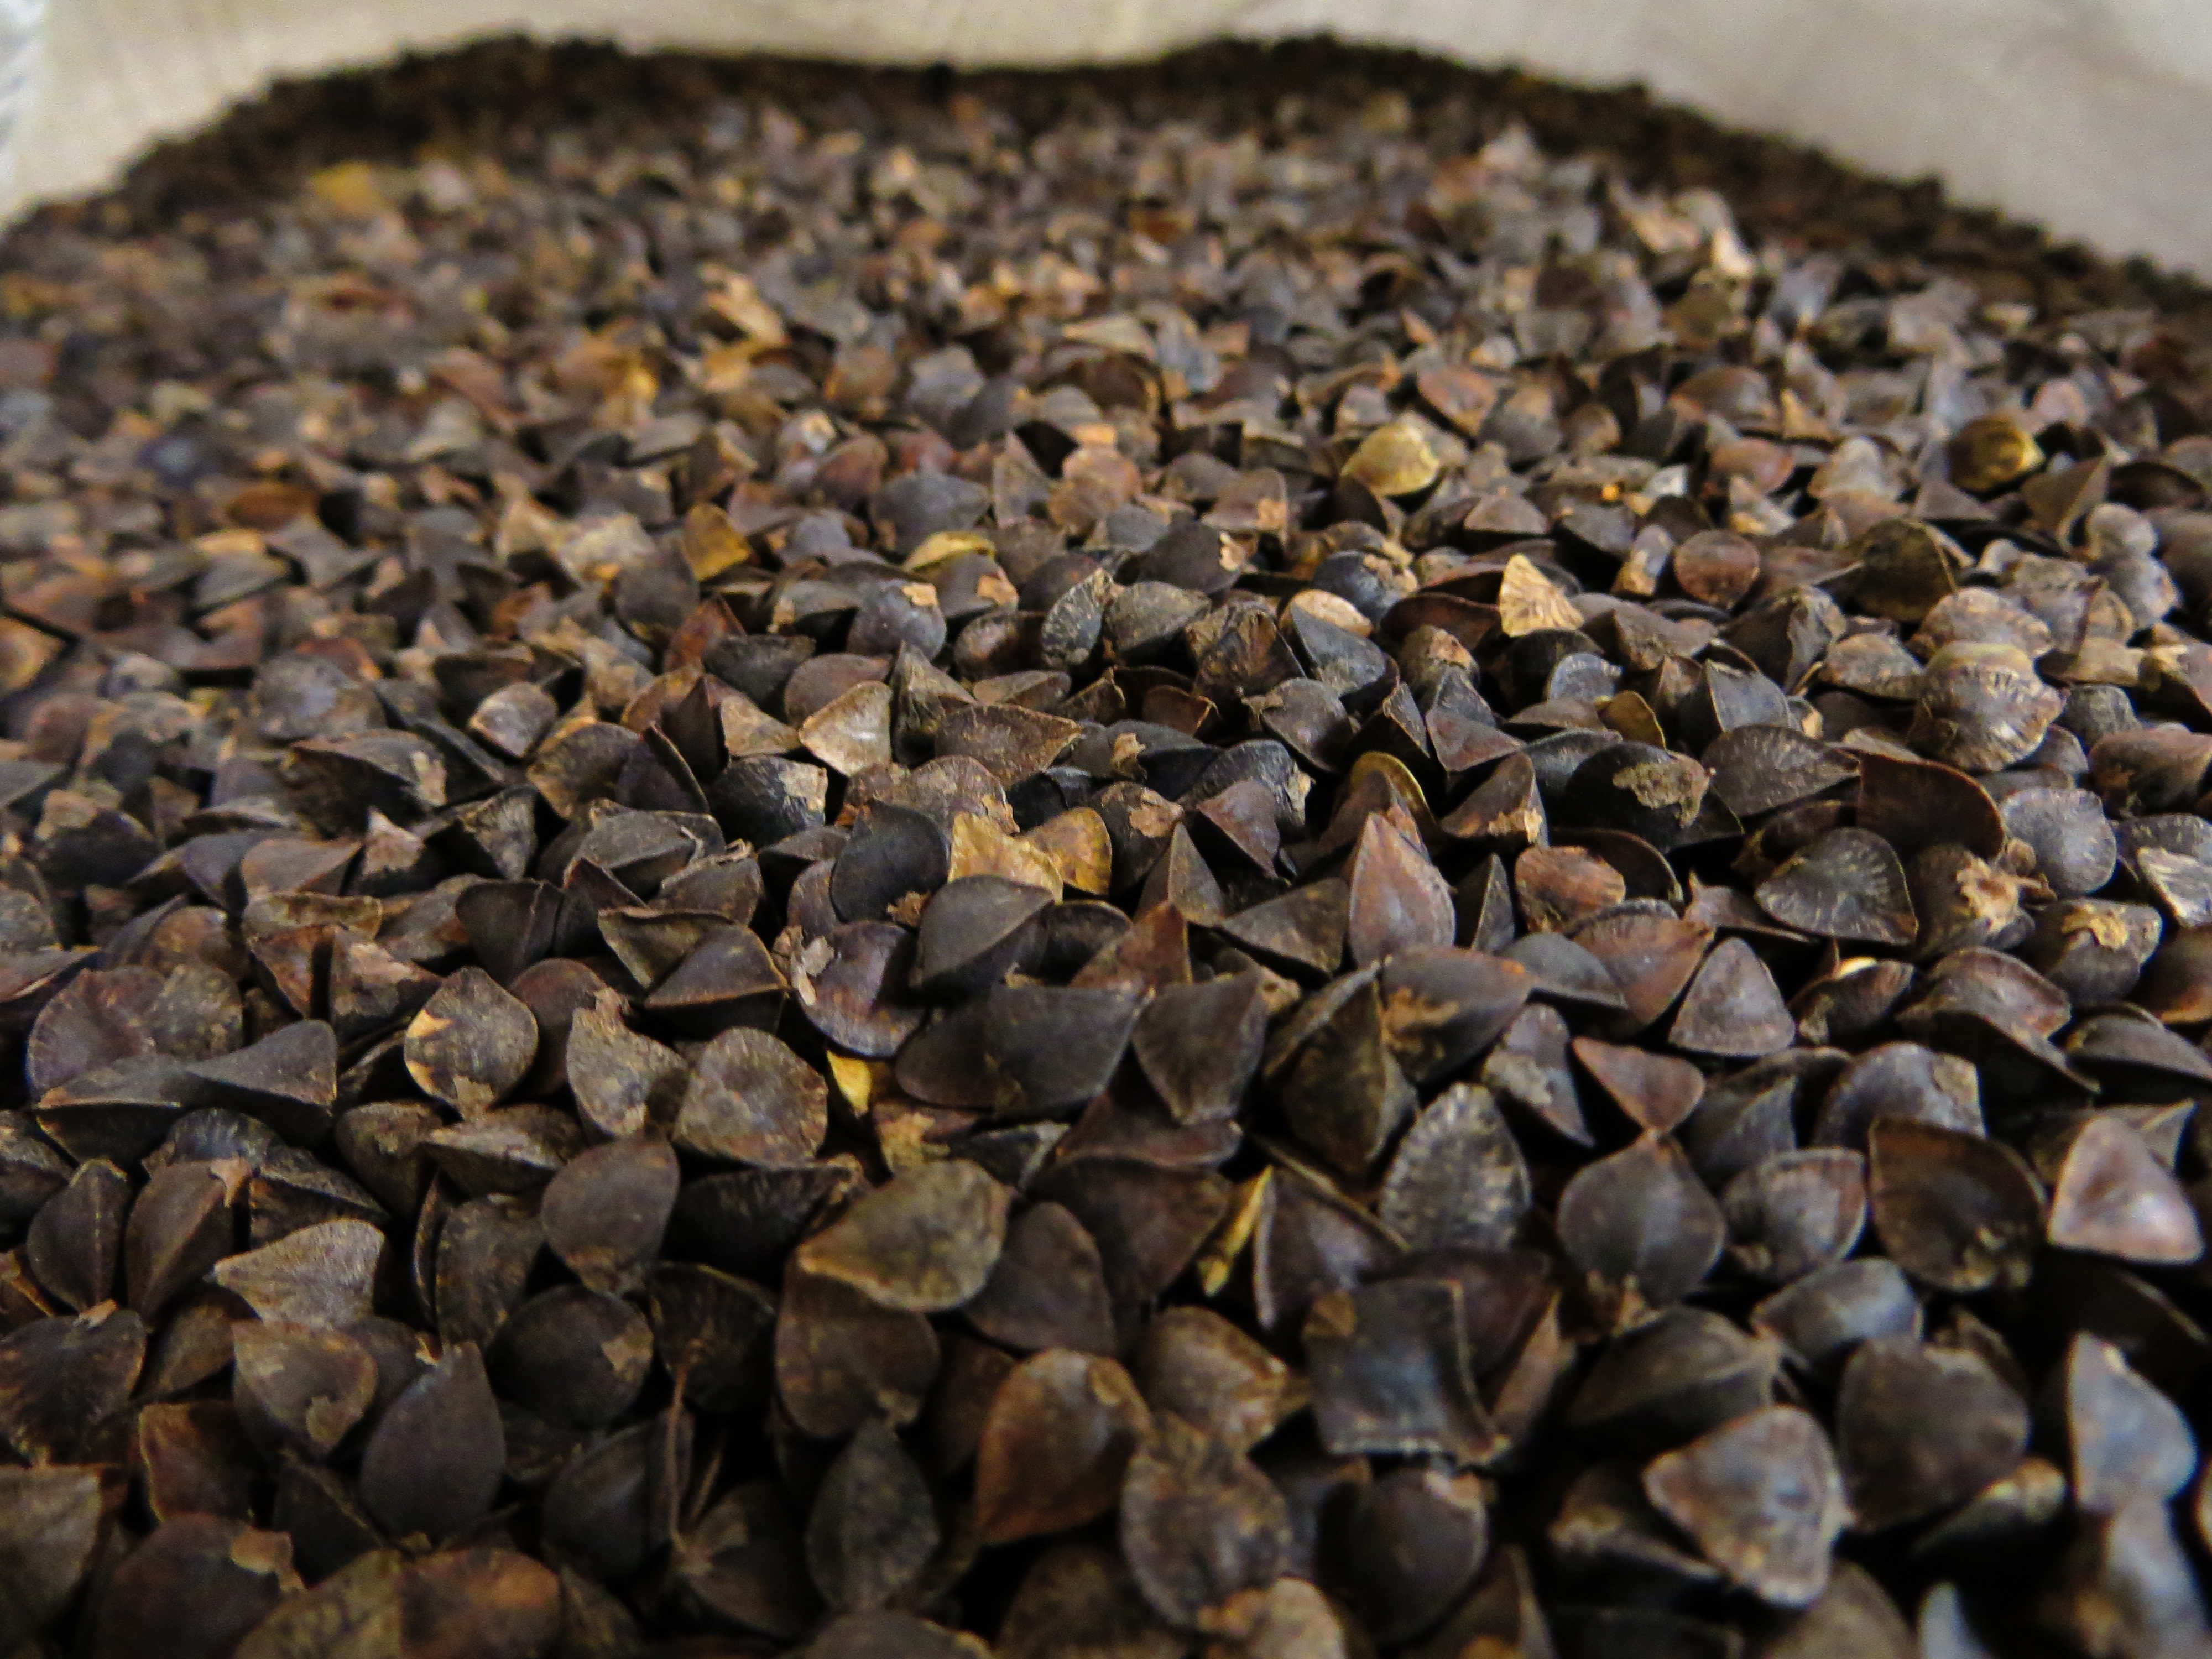
Bre’s Basic Scones

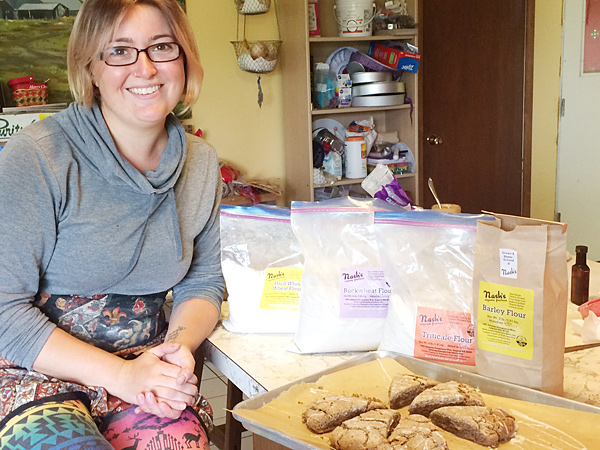
Bre is one of the farm’s unofficial Makers of Snacks. She spoils us with tasty treats! In addition to occasionally baking for us, she also works on our Harvest Crew and at farmer’s markets.

Bre has picked up a few baking tips over the years. “Try to have all your ingredients the same temperature before you mix them. Get a good sifter to thoroughly mix your dry ingredients. Keep that journal, because if you make a slight change that works well, you want to remember it!”

2 cups flour (can be different kinds)
2 Tbsp. sugar
2 tsp. baking powder
1/2 tsp. baking soda
1/2 cup chilled and cubed butter
3/4 cup buttermilk
1 egg, separated

Preheat your oven to 375 degrees and line a baking sheet with parchment paper. Next, prepare your floured surface for shaping the dough.

(Option if you don’t have buttermilk: Prepare “buttermilk” by combining 1 cup milk and 1 tablespoon lemon juice in a bowl. Let stand 5-10 minutes and measure 3/4 cup liquid from the bowl.)

Combine the dry ingredients in a large bowl or a food processor. Either cut in the cold butter with a pastry cutter or pulse in a food processor until a sandy texture is reached. (Larger butter chunks will lead to flakier scones)

Whisk egg yolk and buttermilk together. Then combine with dry ingredients with a wooden spoon until a dough forms. If it feels too wet or sticky add a small handful of flour and mix until just combined. Trust your instinct!

Pour dough onto a floured surface and shape into a 7 inch disc. (Optional: knead in dried fruit, chocolate chips, raisins, nuts, etc.) Then cut into 8 equal wedges.

Place on your baking sheet and brush on reserved egg white. For softer scones, place touching each other in a tight circle. Bake 25-29 minutes or until barely brown on the edges. Place the sheet on a rack to cool for 10 minutes.

Once cooled, feel free to add a powdered sugar drizzle (see below) or top with preserves.

Powdered Sugar Drizzle (Optional)
1 cup powdered sugar
2 Tbsp. water or milk
1 Tbsp. vanilla.

Combine all drizzle ingredients in a small bowl, adjusting quantities to your desired consistency or top with preserves

Bre’s Baking Tips

Breanna (Bre) Krumpe came to work for Nash’s several years ago and has become one of our most valued employees. She works with the harvest and packing crews, and is also a solid marketeer, anchoring our Seattle markets several times a month. In addition to being a talented musician, she enjoys baking and has been experimenting with different types of flour from Nash’s Farm..

She started her baking “career” while working in a corporate office in Portland.She felt that the atmosphere was too sterile and cold, so she boosted morale and built friendlier relations with her co-workers by baking something for each person’s birthday. “I’m good with spices and flavors, and I like to experiment,” Bre says. “I’ve gotten to the point where flavors are usually good, so now I’m playing with textures.”

Once on the farm, Bre realized she had access to lots of different kinds of grains and flours. She began trying the different kinds, keeping a journal of her recipes and how things turned out when she changed one flour for another. “I bake lots of scones because they are pretty easy and the taste of the flour doesn’t have to compete with other flavors, so you can really compare flavors and textures.”

  • Her favorite of Nash’s flours, so far, is the triticale. “I love the nutty flavor for cookies an brownies.”
  • Nash’s soft white wheat flour is more delicate. “It puffs up more, so my scones are more like cake.”
  • The hard red is more grainy and rustic, good for bread. “It’s so ‘alive.’ I use it for sourdough bread, and each loaf is unique.”
  • She’s just started playing with barley flour. “It makes a fluffier scone than triticale, and has an earthier flavor, but it crumbles a little. I may have to add more oil or moisture.”
  • Combining flours makes for even more interesting flavors. “Buckwheat is almost sweet, so I combine buckwheat and triticale for great taste and texture.”

Have you tried this recipe? Tell us how it turned out!

Buckwheat Bliny

Buckwheat groats

Before it’s ground into flour, buckwheat looks like a pile of tiny, three-sided pyramids. After it’s ground, sifted, and baked into pancakes, buckwheat is delicious.

This traditional Russian dish highlights buckwheat’s place of origin (Siberia) and is very versatile. Add your choice of accompaniments and eat these treats for breakfast, lunch, dinner or snacks. Make a batch on Sunday and enjoy throughout the week! If you are trying to reduce the amount of gluten in your diet, use all buckwheat flour instead of the soft white wheat flour.

2/3 cups Nash’s soft white wheat flour
1/2 cup buckwheat flour
1/2 teaspoon salt
1 teaspoon instant yeast
1 cup warm milk
2 tablespoons  butter
1 egg, separated
Vegetable oil (high heat)

Optional accompaniments
Butter
Sour cream
Crème fraîche
Caviar
Smoked fish (salmon, sturgeon, trout, whitefish)
Chopped onions
Chopped hard-boiled eggs
Fresh chopped dill
Beet salad

In a bowl, mix the first four dry ingredients together and then make a well in the center. Add the milk and blend well with a wooden spoon. Cover with a dish towel and place in a warm, draft-free area and let the sponge rise until it doubles in size, about a hour.

Melt the butter and let it cool. Break up and beat the egg yolk in a small bowl and add the cooled melted butter a teaspoon at a time (this is an important step to temper the batter) and beat well. Add this egg yolk/butter mixture to the sponge and mix well.

In a separate bowl, whisk the egg white until stiff and fold into the sponge/batter. Cover again and let stand for twenty minutes.

Heat a skillet or griddle to medium heat and coat lightly with vegetable oil. Spoon about 2 tablespoons to a quarter cup of batter on the skillet, depending on how large you want your bliny to be. When the bubbles on the surface of the batter pop (after about a minute or two) turn the bliny over with a spatula and cook for another 45 seconds to a minute. Transfer to a plate and keep warm. Serve with your preferred accompaniments.

We thank thekitchn.com for this recipe.

Have you tried this recipe? Tell us how it turned out!

Nash’s Buckwheat Biscuits

Buckwheat biscuits

Super-tasty wheat-free biscuits! Our buckwheat is grown and freshly ground right here in the Dungeness Valley.

2 cups Nash’s buckwheat flour
1 tablespoon baking powder
1/2 teaspoon salt
1/2 cup butter or oil
1 egg
1 tablespoon honey
1 teaspoon vanilla
1 cup sour milk

Preheat oven to 400° F and grease an 8-inch square pan. Mix flour, baking powder and salt thoroughly. Cut butter or oil into the flour mixture and set aside.

Mix the egg, honey, vanilla and milk together. Make a well in the flour mixture and add the liquid mix. Blend together using light motions. Quickly spoon 12 portions on to the greased pan and bake 30 minutes.

We thank Mary Wong for this recipe.

Have you tried this recipe? Tell us how it turned out!

Peanut Butter Buckwheat Dog Biscuits

Nice guys

Who wants a treat made from Nash’s organic produce? We do, we do!

Makes about 76 biscuits.

3 1/2 to 4 cups buckwheat flour
1/2 cup tapioca flour
1 teaspoon cinnamon
1 cup mashed yam, sweet potato or pumpkin
1 cup peanut butter
1/4 cup honey or molasses
1 cup boiling water
1/2 cup grated Parmesan cheese (optional)

Combine dry ingredients in a large mixing bowl.

Place yam, peanut butter and molasses in a blender and puree, gradually adding the hot water. Stir liquid ingredients into dry ingredients, adding more hot water if necessary. Continue stirring until a stiff dough is formed. (FYI: Oil your hands before attempting to work with the dough.)

Place the dough in a covered container or plastic bag for up to a week if you want. When you are ready to work with it, preheat oven to 350F. Flour a cutting board. (FYI: It’s easier to work with half of the dough at a time.)

Roll out to 1/4-inch and cut in your favorite shapes. (FYI: These biscuits are easier to cut if the cutters are simple like hearts and not complex like tiny hands or animals with tails.)

Place parchment paper over a baking sheet and fit as many biscuits as you can on the sheet. Bake for 30 minutes. Reduce heat to 250 and continue to bake for 25 minutes. Turn off the oven and allow the cookies to cool before removing them. These crisp cookies keep well for a week, but for long term storage place them in the freezer.

We thank Debra Daniels-Zeller for this recipe.

Have you tried this recipe? Tell us how it turned out!

Buckwheat Pancakes

Buckwheat groats

Before it’s ground into flour, buckwheat looks like a pile of tiny, three-sided pyramids. After it’s ground, sifted, and baked into pancakes, buckwheat is delicious.

1 cup buckwheat flour (or 1/2 cup buckwheat flour and 1/2 cup flour of your choice)
1 tablespoon sugar
1 teaspoon baking powder
1 teaspoon baking soda
1/4 teaspoon salt
1 1/4 cup buttermilk, shaken
1 large egg
1/2 teaspoon pure vanilla extract
Butter for the skillet

If you’re starting out with Nash’s whole buckwheat kernels, grind or mill them in a food processor, blender, or a coffee grinder that you have either cleaned out really well or one that you dedicate to grains and/or spices. Then sift the dark particles of the husk out of the flour.

In a medium mixing bowl, mix together the flour(s), sugar, baking powder, baking soda and salt. In a liquid measuring cup, measure out the buttermilk. Beat in the egg and vanilla extract.

All at once, add the wet ingredients to the dry ingredients and mix until just combined. The batter should have some small to medium lumps.

Preheat your skillet over medium-low heat and brush with 1 1/2 teaspoons butter. Give the batter a light swirl with a spoon in case the buckwheat is starting to separate from the liquid. Using a 1/4-cup measure, scoop the batter onto the warm skillet. Cook for 2-3 minutes until small bubbles form on the surface of the pancakes (you’ll know it’s ready to flip when about 1 inch of the perimeter is matte instead of glossy), and flip. Cook on the opposite side for 1-2 minutes or until golden brown.

Top your pancakes with fruit, yogurt, honey, maple syrup, or jam.

We thank cookieandkate.com for this recipe.

Have you tried this recipe? Tell us how it turned out!