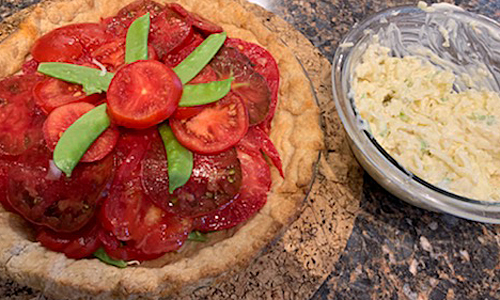
Tomato pie ready for the topping
This recipe was shared with us by Margie Diffner. She based it on one from simplyrecipes.com.
Tomato Pie
1 9″ pie crust
1/2 cup chopped yellow or red onion
3-4 tomatoes, cut in half, squeezed to remove excess juice, roughly chopped, to yield about 3 cups. Margie sliced hers as in the photo and let the slices drain onto a paper towel, but did not squeeze them. It made for a juicier pie, but the juice has so much flavor that otherwise would have been lost.
1/2 tsp. salt
1/4 cup sliced fresh basil
2 cups grated cheese (Monterey Jack, Gruyere or Mozzarella all work, or combine)
1/2 cup mayonnaise
1 tsp. hot sauce (like Tabasco. You could also use 1/4 tsp. cayenne, or chop a Jalapeno or Poblano pepper to taste)
Freshly ground black pepper
Preheat oven to 350°F, then pre-bake the crust until golden. Lightly salt chopped tomatoes and set them in a colander over a bowl to drain while you are pre-baking the crust.
Sprinkle a layer of chopped onion over the bottom. Spread the tomatoes over the onions. Sprinkle the sliced basil over the tomatoes.
In a medium bowl, mix together the grated cheese, mayonnaise, Tabasco, and a sprinkling of freshly ground black pepper. The mixture should be the consistency of a gooey snowball. Spread the cheese mixture over the tomatoes.
Place in oven and bake until browned and bubbly, anywhere from 25 to 45 minutes. Enjoy!
Have you tried this recipe? Tell us how it turned out!

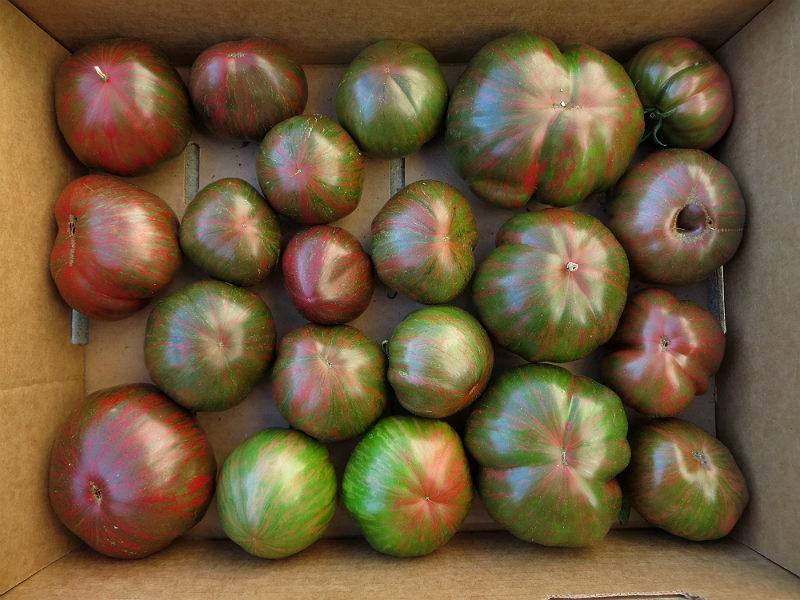
 Heirloom Tomatoes
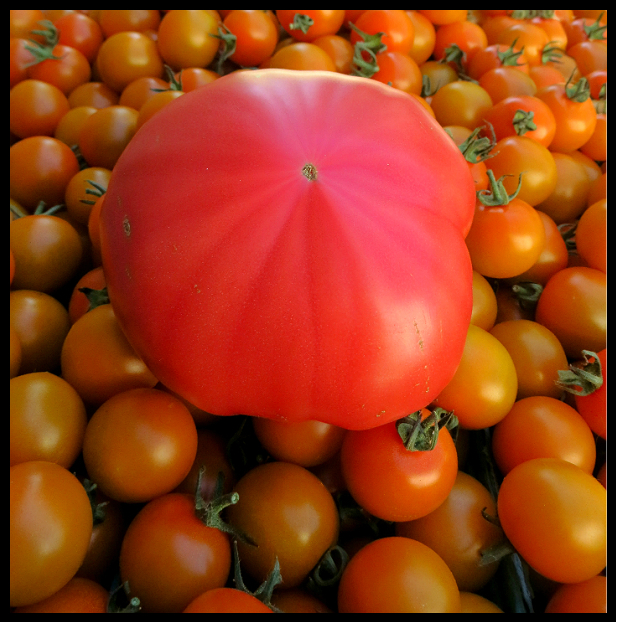