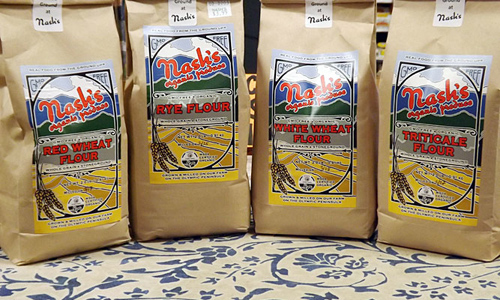
Which of Nash’s flours (or combination) is your favorite for rosemary biscuits?
Mary’s Rosemary Biscuits
We thank Mary Wong of Nash’s Farm Store for the following delicious recipe using the classic herb rosemary in a lovely biscuit.
2 cups of Nash’s flour (can be a mixture of flour types, including Nash’s cornmeal)
1 Tbsp. sugar
1 Tbsp. baking powder
1/2 tsp. salt
1 to 1-1/2 Tbsp. finely chopped rosemary
6 Tbsp. butter
1 egg
1/3 to 1/2 cup buttermilk
1 tsp. vanilla
Preheat oven to 400 degrees. Grease a round or square 9″ pan. Mix all the dry ingredients together. Cut butter into the flour mix. Blend together the wet ingredients, then combine the dry and wet ingredients quickly. Turn out on to a floured board, and knead gently. Shape into a 1″ square or round. Cut into 8 -10 pieces and place in pan. Bake for 20-25 minutes until golden brown.
Have you tried this recipe? Tell us how it turned out!
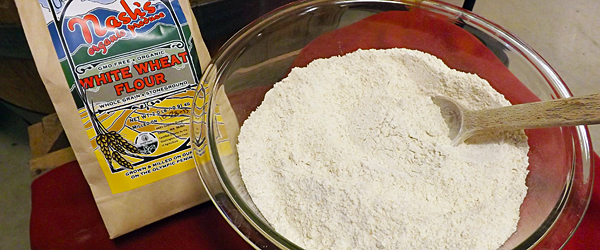 5 cups Nash’s Soft White Wheat Flour
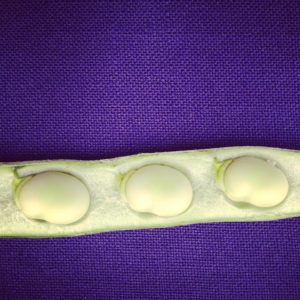 2.5 lb fresh fava beans, pods and membranes removed (makes about 3 cups)
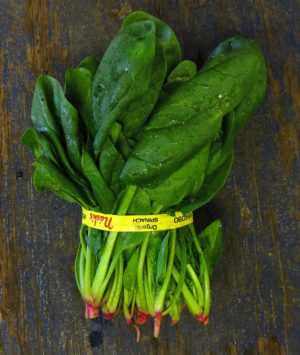 1 cup cooked spinach
 Yields ½ pint. Recipe can be doubled or quadrupled.